Sunday, May 31, 2015

The Kitchen: Phase 1


This was the kitchen when we moved in. Blank canvas was nice. Let's look a little closer here. 
See this fabulous dishwasher? Yeah... This was quite obviously not original to the kitchen. As you can see, it is only covered by the counter top. What you may not notice is that it is sitting on a nice piece of plywood. And that cord you see, it plugged into an outlet above the counter top. Meaning, if you wanted to plug in your blender and your toaster, you would have to unplug the dishwasher.
                                            So we bandaged it with some plywood. (until we could do a remodel) We painted it white to blend in. And also made a little bar too. (see that cord going above the counter? yep...)                                                       


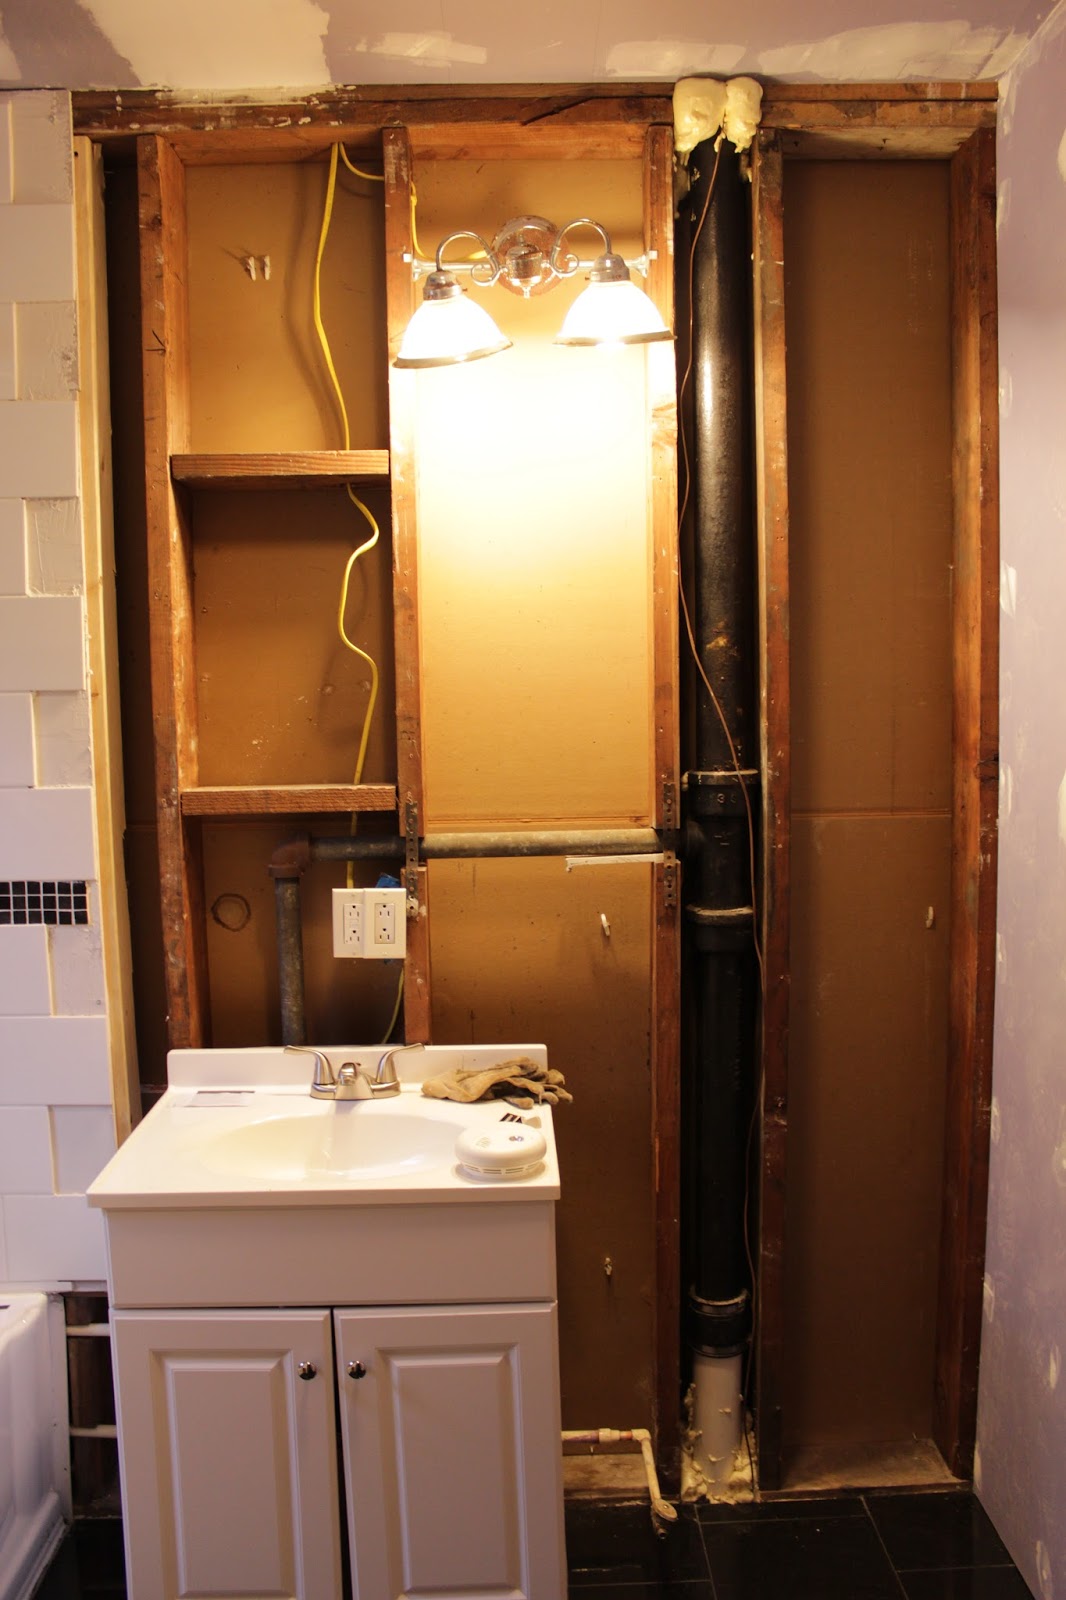
Next we have the stove. It was pretty much alright, except for the missing vent hood that left 3 giant holes in the wall.


This is our dining area. What you can see- lovely peel and stick linoleum. It looked fine for the most part, but there were places where it doesn't look fine. What you can't see- the ceiling fan had no blade. (we had 4 ceiling fan fixtures when we moved in, and only one of them had blades on it.. explain that one for me?)

So as you can see, the kitchen was usable. It had running water and a stove. Aaron's parents happened to be getting a new refrigerator about the time we needed one. (FREE! Best in laws ever!) Yes, the room was an eye sore, but we could live with it. It was just a little dumb looking.

This is how we prettied it up while we saved money for the overhaul. 


 These are our friends, Ellie and Ivy, they helped us with the painting. Good happy friends.


I liked the idea of having a display type cabinet. So we took the doors (which didn't close correctly) off and painted the inside white.


 I also loved this blue color. I got a "get a free sample color" coupon in one of my magazines. It matches the blue on the little curtain in the window.


This is me in my jammies. I honestly don't remember what I was doing. Probably preparing to smash the cabinets by jumping on them.


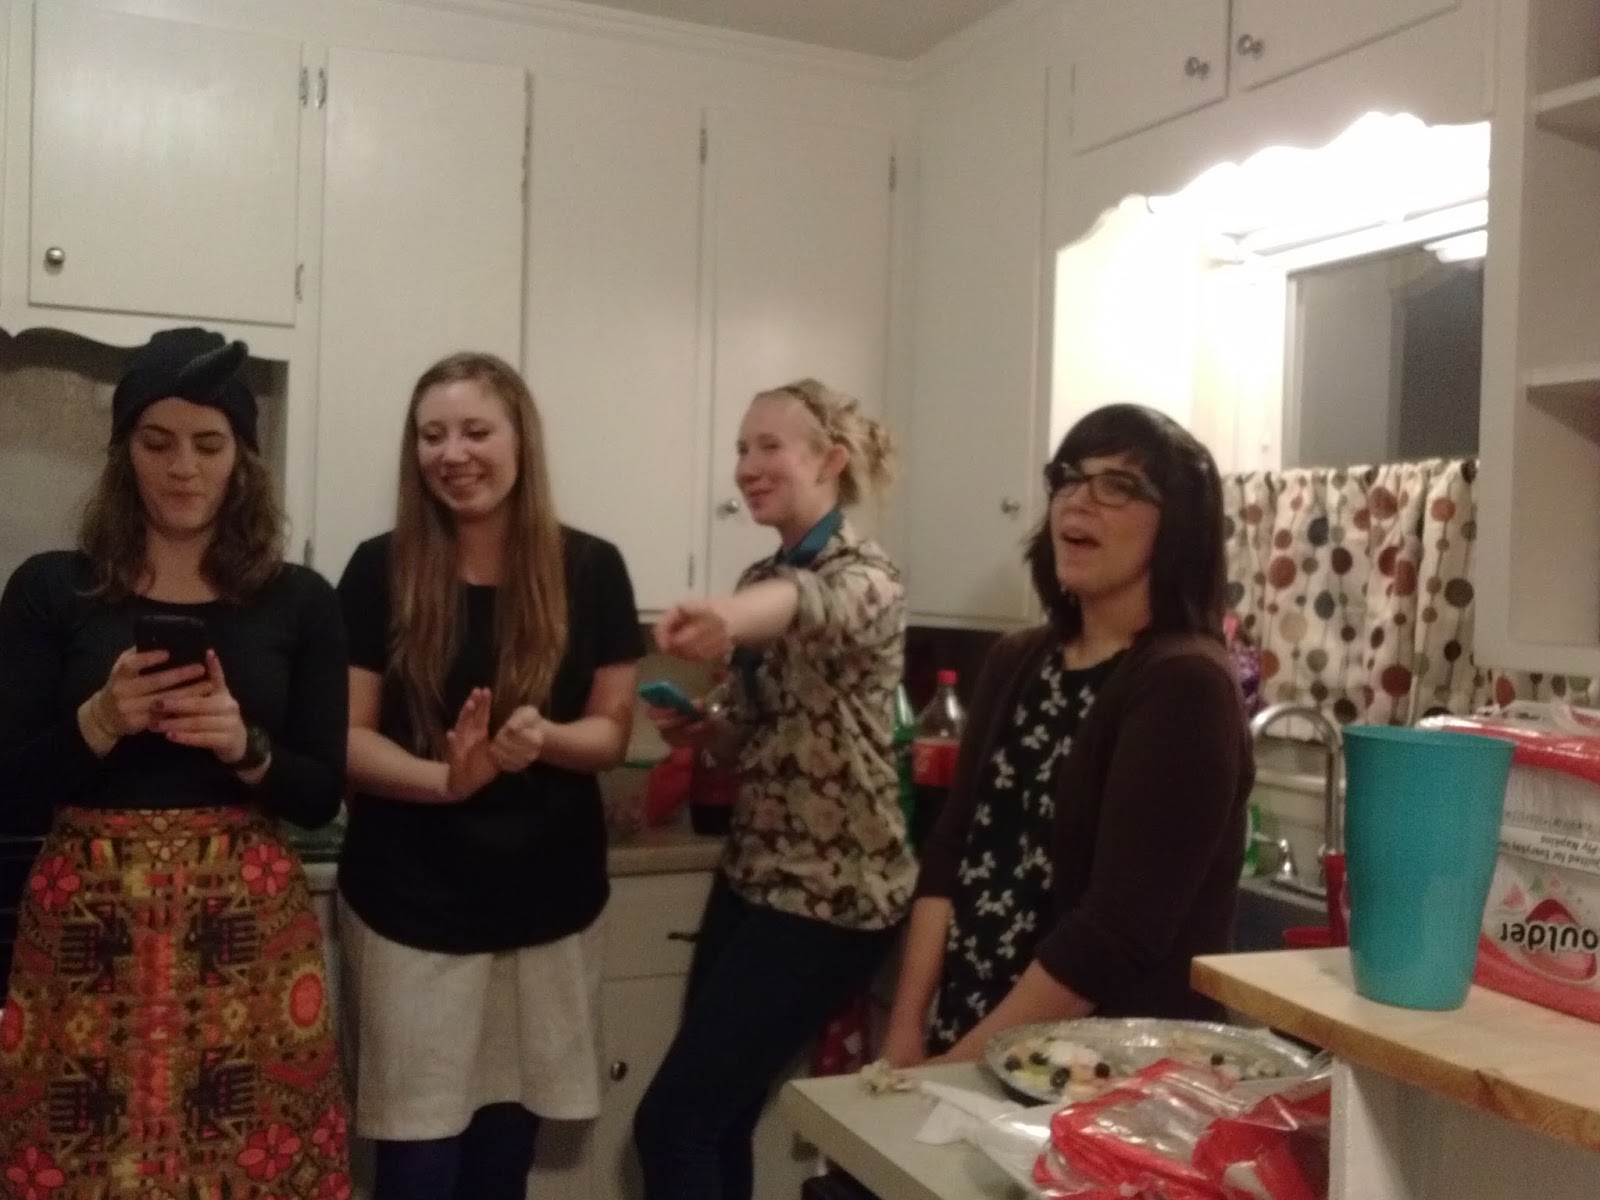
These are our friends enjoying themselves in our kitchen at our annual white elephant party. Literally the week after we moved in. They didn't mind our crazy kitchen. We are a work in progress.


The Kitchen overhaul coming next week!


Sunday, May 24, 2015

Intro into the Bathroom

We don't make a ton of money. But, with the help of Mr. Dave Ramsey we do pretty well with our income. We have envelopes for everything that we want to do: vacations, home improvement, future babies, etc. Taking his class right after we got married was such a good idea. It has really helped us handle the money that we have now, and helps us prepare for the future. (no I am not getting paid to say nice things about Dave Ramsey, we are just very satisfied graduates of his class)

In October 2013 we bought our very first home, a HUD house for $65,000. We had heard bad stories about government owned homes but, we took a chance and put in an offer. And, well, hey I guess it worked out for us. We definitely couldn't move in right away due to the condition of the house. Luckily, our apartment was literally across the street. We could just walk over after work and work some more. With the apartment's rules of two month notice move out date, and the time line of the work we had to do on the house, we did have one month of paying a rent payment and a mortgage payment. Again, with the guidance of Dave Ramsey we had enough in savings to do the work needed and pay two payments and still have food on the table, or the floor in our case. Picnic style.

We made a list of the major projects to do before we moved in. That included: refinishing all of the hardwood floors, putting up a wall in the bathroom, and getting most of the painting done. With those we came upon little surprises as well, bad plumbing, electrical, and rotting kitchen cabinets, to name a few. Always have a back up plan, including a home inspection, when dealing with HUD homes. There is almost always something lurking behind the walls.


Our first project was putting up the bathroom wall. The previous owner had thought it would be a good idea to take out the only two storage closets to make a bigger bathroom. Good idea, except for the part where we now have no storage. The picture above is my wonderful husband Aaron, and our good friend Cliff, putting up the drywall. The renovation of the bathroom also included moving an outlet from below the cabinet to above the cabinet, adding another outlet, and adjusted the plumbing pipes. Thanks Cliff for all of your help! It turned out much better than if we did it ourselves!

 This is me not helping with that stuff, because I feel I would just be in the way.(Aaron's parents had some water resistant drywall in their garage. Free is always good!)

So, basically the previous owners started a remodel and just didn't finish it. Here is the tile work that Aaron finished up. Luckily they still had the same tile at Lowes!($50 at most for the tiles, adhesive, and grout)

Notice the sweet wall shelves in the shower! I like these far better than the racks you hang on the shower head.
This is our first fabulous thrift store find! ($50) We didn't want to\have the $200+ to spend on a fake wood vanity. This dresser stands a little taller than a normal vanity, but the height feels comfortable. (It did come with all drawers, I just forgot to take a picture before I started working on it) The pink bottle of stuff on top is a paint and stain stripper called Citristrip. ($12)


Once we cut out the back, for the plumbing, and attached it to the studs, Aaron tiled the top of it to match the rest of the bathroom tile.


 This is the finished vanity.  Aaron made the top two drawers into doors, and the bottom drawers are still drawers. (Hinges $1ish each. Hardware original to dresser)(Can of White paint- Free- ask on facebook you might be surprised what people have lying around)
 This is the sink we picked up from a ReStore. ($20) I think the faucet came from the sink that was in the bathroom already. (Free) This was the first time we had running water in our bathroom. It was a momentous occasion!


 Here is Aaron playing in the bathtub. He was really sealing the tub, I think. :)


And here is another lovely thrift store find- Wall cabinet ($10) We were looking at these at Lowe's and Home Depot and a brand new one is about $70! Wow! There was nothing wrong with this one. The hardware is little blue flowers- easily changeable. Thrift stores people! Just keep your eyes open, and visit them frequently!
I have mentioned our lack of storage, and I didnt really want a bunch of stuff all over the counter. I picked up this beauty at a thrift store as well. ($5) Just add a can of white spray paint and there ya go!


And of course, our selfies in our giant mirror! ($18- ReStore)
 This is our (mostly) finished bathroom. Then I got real tired of the white. Way too white! We got this green paint for free, so it made it okay to re-paint.
 According to a study the average bathroom remodel can cost $10,000!! That's crazy! I don't know about you, but I know we could never afford that. We spent approximately $200 total for this entire bathroom! All you need to do is find a couple of friends who know what they are doing and do most of the work yourself. It will definitely save you so much money! 

Thanks for reading my very first post ever! (you can probably tell that I am new at this) Up next, the kitchen!

-Beth

*UPDATE       
I have found the "before" pictures of the bathroom!


 There was a hole in the wall by the tub. We put some of that free mold resistant drywall there, and Aaron finished the tile.

This was where they took out the two closets (one coat closet-right, and one linen closet-left) to move the toilet and have a bigger bathroom. Kind of luckily, the drywall was already up.

This is the ceiling. I guess maybe they re-drywalled it?


 The unfinished tile toilet wall. Aaron finished this, and added the little black tile to match the shower.(also no toilet seat, which is okay, cause who wants to sit on a used toilet seat?) (with the exception of public places, of course) (but in your own home, gross)
This was where the toilet used to be. We had to cut it back so it wouldn't be just hanging out there. (if that's what you were thinking)


 And here is the open bathroom wall with the kind of yucky super cheap vanity. You can see where we added an outlet and changed the light fixture. Lovely wall progression, with mold resistant drywall, of course.